How to send data from Mbed OS to Treasure Data (Pelion Data)
Introduction
For sending data securely to Treasure Data from Mbed OS you have two options.
Option 1) HTTPS library – send data directly to the Treasure Data REST API.
Option 2) fluentd using fluent logger library – send data to a hosted fluentd instance that aggregates and forwards the data on to your treasure data account.
Both libraries are secured with Mbed TLS in transit and are equally secure. The tradeoff between the two is size of code on chip, size of data in transit, and setup complexity. The HTTPS library is great for proving out an idea is possible, but when going to production you are likely going to want to use the fluentd library. This is for 3 reasons
- Code size on chip – the HTTPS library is ~50KB of ROM space on chip, this due to the HTTP stack. Both libraries use mbed TLS to secure the connections, which is ~7KB per connection on your stack for both libraries.
- Data size in transit – The HTTPS library sends data as a ASCII JSON string. The fluend library uses MessagePack (binary encoded json) across a TLS connection. This means that on average the fluentd library will use less bandwidth to send an equivalent message. When you pay per byte transmitted from both your power budget and data plan it matters.
- Maintenance – Initially it may be simpler to setup the HTTPS library on a device and have it send data directly to treasure data, but what if you want to change what the device is doing or how its data is reported? If you are using the HTTPS library you will need to issue a firmware update to every device to change how it formats its data, but if you are using a fluend server you can simply modify the fluentd config file on the server to change how data is formatted / processed.
That said, lets cover how to setup both!
HTTPS Library
To use the HTTPS library use this program: https://github.com/blackstoneengineering/mbed-os-example-treasuredata-rest . This program will turn on Mbed OS device statistics by enabling the `MBED_ALL_STATS_ENABLED` macro and then send heap / cpu/ stack / system information to Treasure Data.
Import Code
You can compile the program in 3 ways
- Online Compiler – `ide.mbed.com/compiler?import=https://github.com/blackstoneengineering/mbed-os-example-treasuredata-rest`
- Offline – Mbed CLI – `mbed import https://github.com/blackstoneengineering/mbed-os-example-treasuredata-rest`
- Mbed Studio – https://os.mbed.com/studio/
Setup Variables
You will need to configure the following settings
- Treasure Data API key in `mbed_app.json` – Change the `api-key` variable
"api-key":{
 "help": "REST API Key for Treasure Data",
 "value": "\"REPLACE_WITH_YOUR_KEY\""
},
- Optional: Wifi credentials – if you’re using wifi you will need to add your SSID / Password. If using ethernet then it will automatically work.
- Create database called `test_database` in Treasure Data. (Note: the tables will be automatically created)
Compile and load
Next you can compile and load your code onto your board. If you are unfamiliar with how to compile and load code I suggest taking a look at the Mbed OS Quickstart tutorial.
Once your code is up and running, open a serial terminal and connect it to the board. You should see output similar to the following.
--- Terminal on /dev/tty.usbmodem146103 - 9600,8,N,1 ---
Treasure Data REST API Demo
Connecting to the network using the default network interface...
Connected to the network successfully. IP address: 192.168.43.202
Success
MAC: C4:7F:51:02:D9:5D
IP: 192.168.43.202
Netmask: 255.255.255.0
Gateway: 192.168.43.249
 Sending CPU Data: '{"uptime":6918609,"idle_time":0,"sleep_time":509277,"deep_sleep_time":0}'
 Sending Heap Data: '{"current_size":15260,"max_size":75334,"total_size":747954,"reserved_size":307232,"alloc_cnt":12,"alloc_fail_cnt":0}'
 Sending Stack Data: '{"thread_id":0,"max_size":4820,"reserved_size":12632,"stack_cnt":4}'
 Sending System Data: '{"os_version":51104,"cpu_id":1091551809,"compiler_id":2,"compiler_version":60300}'
Verify data in Treasure Data
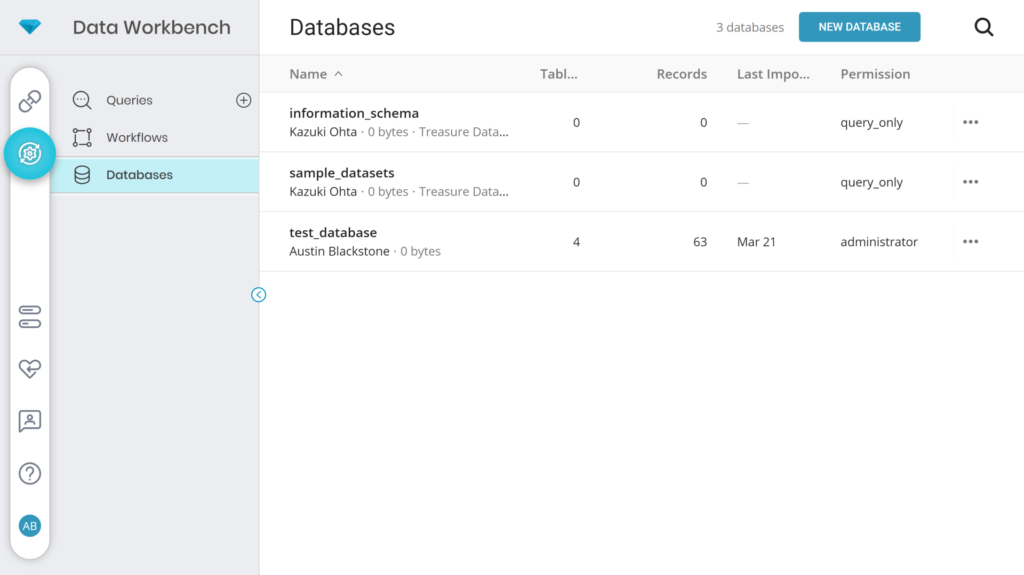
Go to the Database list in Treasure data https://console.treasuredata.com/app/databases) and open up the `test_database` that you created earlier. You should be able to see the data from the board in the database. There is a 3-5min delay from when the data is sent to the database until the visualization system lets you see
it, so please be patient and wait for it to arrive. (Also make sure to refresh the page).
Please note that the database tab will tell you how much data you have in the database and give a few random samples, but it does not show all your data. For that we will need to run some Queries.
Run Queries
Now that you have data in Treasure data, its time to analyze and make use of the data. Go to the Queries tab (https://console.treasuredata.com/app/queries/editor). Select the `test_database` and then run some queries. To learn more about how to run queries I suggest reading the Treasure Data documentation here : https://support.treasuredata.com/hc/en-us/articles/360001457427-Presto-Query-Engine-Introduction
A few suggested queries are:
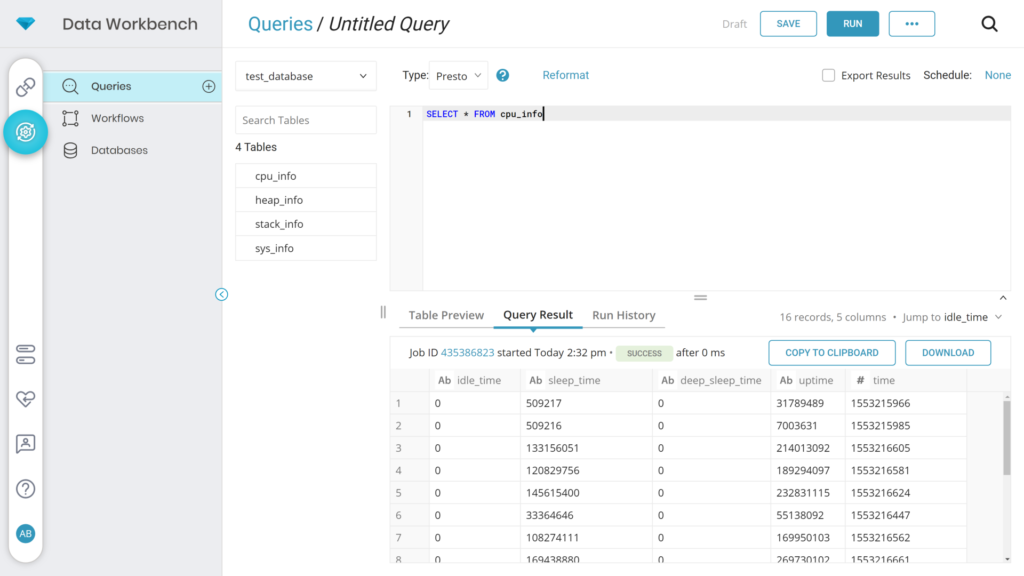
Select all the things
Run `select * from cpu_info` to get a full list of everything in that table
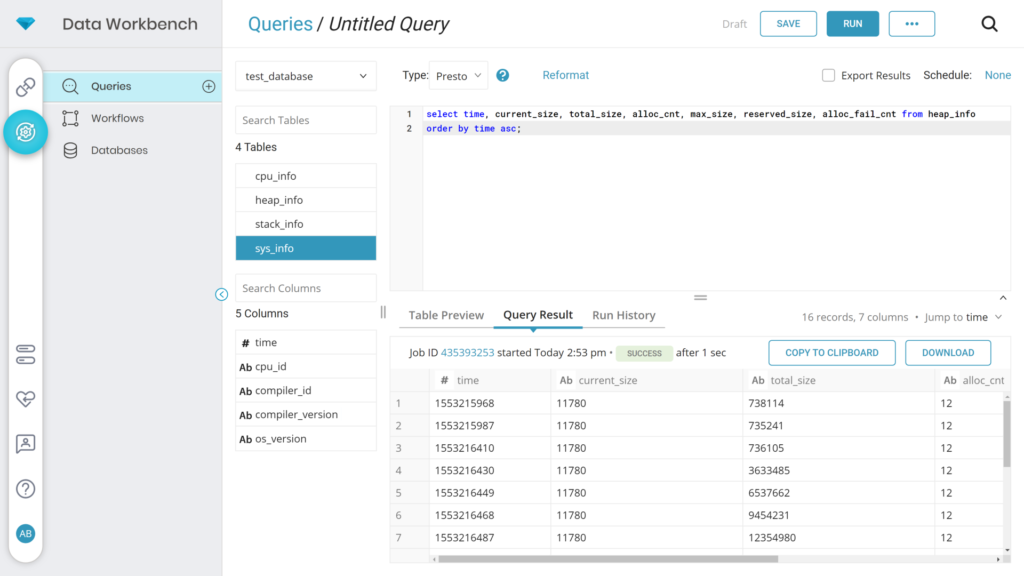
Select certain fields, order by time
This query will select only certain columns from the table and then order them by the time field in ascending value, you can also replace `asc` with `desc` to get the order reversed.
select time, current_size, total_size, alloc_cnt, max_size, reserved_size, alloc_fail_cnt from heap_info
order by time asc;
Troubleshooting
If you are experiencing issues, double check that you have enough RAM / ROM to run this program (if you have less than 10KB of space left on your stack it will crash out). You can also try turning on the Treasure Data debug printf’s by overriding the `TD_DEBUG` macro to be `true`.
fluentd
For mass deployments you will want to use fluentd or fluentbit to aggregate and forward the data into Treasure Data. Depending on where you host your fluentd instance you will need to follow slightly different setup instructions. (localhost on your machine with self signed certificates or at a public IP address in the cloud with CA signed certificates). In this example we will be using MessagePack (binary encoded JSON) to encode the data.
Setup fluentd
Install
First off install fluentd. See the fluentd quickstart here : https://docs.fluentd.org/v1.0/articles/quickstart .
Or if you know what you’re doing, use `gem install fluentd fluent-plugin-td`
Download example code
Download the example code from here : https://github.com/BlackstoneEngineering/mbed-os-example-fluentlogger . This repo both contains the embedded example code and the fluentd configuration files.
Set config file
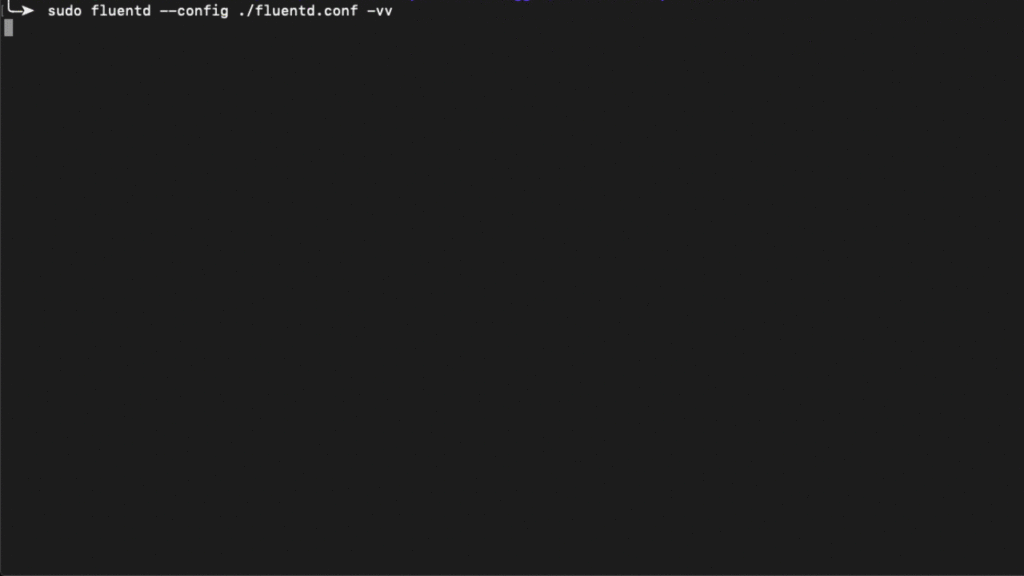
We will run fluentd using the provided config file `fluentd –config ./fluentd-setup/fluentd.conf -vv`. This file will open two ports, port 24227 for unencrypted TCP traffic and port 24228 for TLS encrypted traffic. The configuration is provided for reference, we strongly suggest using TLS encryption on port 24228 to secure your data in transit.
You can either run fluentd on a public IP address with CA signed certificates (suggested for deployments), or locally on your machine using self signed certificates (recommended for prototyping / testing).
Signed by CA, running in cloud
If you have valid certs from a CA replace the `fluentd.crt` and `fluentd.key` files with the CA certs. Then uncomment the lines in the `fluentd.conf` file for CA trusted certs, comment out the lines for self signed certs, and change the passphrase to match for your certificate.
# cert_path ~/mbed-os-example-fluentlogger/fluentd-setup/fluentd.crt
# private_key_path ~mbed-os-example-fluentlogger/fluentd-setup/fluentd.key
# private_key_passphrase YOUR_PASSPHRASE
Self signed certs on localhost
If you are running the fluentd server locally on your machine for bringing up a PoC you will need to generate a new self signed certificate where the CN is the IP address of your machine, modify the fluentd.conf file with the IP address of your machine, and each time you restart the fluentd instance it will generate a new cert that you will need to copy/paste into your embedded code.
1) Change the `generate_cert_common_name` parameter in `fluentd.conf` to be the IP address of the computer running the fluentd server
2) Run ` openssl req -new -x509 -sha256 -days 1095 -newkey rsa:2048 -keyout fluentd.key -out fluentd.crt` to generate new certificates. When entering the prompted values make sure to match the parameters in the `fluentd.conf` file(US, CA, Mountain View…etc). **Make sure the Common Name (CN) field is set to the IP address of the fluentd server**
For example I input the following when prompted:
Country Name (2 letter code) []:US
State or Province Name (full name) []:CA
Locality Name (eg, city) []:Mountain View
Organization Name (eg, company) []:
Organizational Unit Name (eg, section) []:
Common Name (eg, fully qualified host name) []:192.168.1.85
Email Address []:
If everything goes correctly it should look like this :
Mbed OS setup
Run the example code on your device. You can either import to the online compiler or use mbed CLI as below to clone it locally, compile and load it to the board.
$ mbed import https://github.com/BlackstoneEngineering/mbed-os-example-fluentlogger
$ mbed compile --target auto --toolchain GCC_ARM --flash --sterm
Secure (TLS)
To send data to fluentd over TLS (securely) we will need to configure a few things.
1) run `openssl s_client -connect localhost:24228 -showcerts`, copy the certificate to `fluentd-sslcert.h`. If running the fluentd server on localhost then this certificate will change every time you restart fluentd, so you will need to re-run this command every time and recompile your embedded code.
2) modify the call in `main.cpp` to the FluentLogger object, change the IP address to the IP address of the fluentd server, or if you are hosting it in the cloud change it to the web address where it is hosted. **It is very important that the IP address in the main.cpp file matches the IP address set in the CN field fo the fluentd server, otherwise it will not work as mbed tls uses strict CN verification**
3) Compile the code and load it onto your board.
Success
When everything is working you should be output on the fluentd terminal that looks like the following:
 -0500 debug.test: ["sint",0,1,-1,-128,-32768,-2147483648]
-0500 [trace]: #0 fluent/log.rb:281:trace: connected fluent socket addr="192.168.1.95" port=5522
-0500 [trace]: #0 fluent/log.rb:281:trace: accepted fluent socket addr="192.168.1.95" port=5522
-0500 debug.test: ["uint",0,1,128,255,65535,4294967295]
-0500 [trace]: #0 fluent/log.rb:281:trace: connected fluent socket addr="192.168.1.95" port=5523
-0500 [trace]: #0 fluent/log.rb:281:trace: accepted fluent socket addr="192.168.1.95" port=5523
-0500 [trace]: #0 fluent/log.rb:281:trace: enqueueing all chunks in buffer instance=70248976563020
-0500 debug.test: {"string":"Hi!","float":0.3333333432674408,"double":0.3333333333333333}
-0500 [trace]: #0 fluent/log.rb:281:trace: connected fluent socket addr="192.168.1.95" port=5524
-0500 [trace]: #0 fluent/log.rb:281:trace: accepted fluent socket addr="192.168.1.95" port=5524
-0500 debug.test: {"string":"Hi!","float":0.3333333432674408,"double":0.3333333333333333}
-0500 [trace]: #0 fluent/log.rb:281:trace: connected fluent socket addr="192.168.1.95" port=5525
-0500 [trace]: #0 fluent/log.rb:281:trace: accepted fluent socket addr="192.168.1.95" port=5525
-0500 [trace]: #0 fluent/log.rb:281:trace: adding metadata instance=70248976563020 metadata=#<struct Fluent::Plugin::Buffer::Metadata timekey=nil, tag="td.fluentd_database.test", variables=nil>
-0500 [trace]: #0 fluent/log.rb:281:trace: writing events into buffer instance=70248976563020 metadata_size=1
-0500 [debug]: #0 fluent/log.rb:302:debug: Created new chunk chunk_id="585c249fd2ebe20867267de2fde7c4bc" metadata=#<struct Fluent::Plugin::Buffer::Metadata timekey=nil, tag="td.fluentd_database.test", variables=nil>
-0500 [trace]: #0 fluent/log.rb:281:trace: connected fluent socket addr="192.168.1.95" port=5526
-0500 [trace]: #0 fluent/log.rb:281:trace: accepted fluent socket addr="192.168.1.95" port=5526
-0500 debug.test: {"string":"Hi!","float":0.3333333432674408,"double":0.3333333333333333}
How to set Treasure Data database / table
The database is determined by the second field in the tag of your embedded code.
For example, sending data to a tag called `td.mydatabase.mytable` will log the data to the database called `mydatabase` in the table `mytable`.
Feel free to modify the example config file to try this out.
Debugging
For more verbose debug messages turn on the following flags in `mbed_app.json`
MBEDTLS_SSL_DEBUG_ALL=1
"mbed-trace.enable" : true


